
Fresh Mint Ice Cream is a delightful treat that captures the essence of summer in every creamy bite. As the warm sun shines down, there’s nothing quite like indulging in a bowl of this refreshing dessert, which has roots in various cultures that celebrate the vibrant flavor of mint. I remember the first time I tasted homemade mint ice cream; the cool, invigorating taste was unlike anything I had experienced before.
People adore this dish not only for its unique flavor but also for its smooth, velvety texture that melts in your mouth. The combination of fresh mint leaves and rich cream creates a perfect balance that is both satisfying and refreshing. Plus, making Fresh Mint Ice Cream at home is a convenient way to impress your friends and family during gatherings. Join me as we explore this delightful recipe that is sure to become a favorite in your household!

Ingredients:
- 2 cups heavy cream
- 1 cup whole milk
- 3/4 cup granulated sugar
- 1/2 teaspoon salt
- 1 teaspoon pure vanilla extract
- 1 cup fresh mint leaves, packed
- 4 large egg yolks
- 1/2 cup mini chocolate chips (optional)
Preparing the Mint Infusion
To start off, we need to infuse our cream and milk with the fresh mint flavor. This step is crucial as it will give our ice cream that refreshing minty taste.
- In a medium saucepan, combine the heavy cream, whole milk, granulated sugar, and salt. Stir the mixture over medium heat until the sugar is completely dissolved. This usually takes about 3-5 minutes.
- Once the sugar has dissolved, add the fresh mint leaves to the saucepan. Make sure they are packed in there nicely to maximize the flavor infusion.
- Bring the mixture to a gentle simmer, then remove it from the heat. Cover the saucepan and let the mint steep for about 30 minutes. This allows the mint to release its essential oils and flavor into the cream mixture.
Preparing the Custard Base
Now that our mint has infused beautifully into the cream mixture, it’s time to create a custard base that will give our ice cream a rich and creamy texture.
- After the mint has steeped, strain the mixture through a fine-mesh sieve into a clean bowl. Press down on the mint leaves with a spatula to extract as much flavor as possible. Discard the mint leaves.
- In a separate bowl, whisk the egg yolks until they are pale and slightly thickened. This usually takes about 2-3 minutes.
- Gradually pour the warm mint-infused cream mixture into the egg yolks while whisking constantly. This process is called tempering and prevents the eggs from scrambling.
- Once combined, return the mixture to the saucepan and cook over medium-low heat, stirring constantly with a wooden spoon or spatula. You want to heat it until it thickens enough to coat the back of the spoon, which should take about 5-7 minutes. Be careful not to let it boil!
- Once thickened, remove the saucepan from the heat and stir in the vanilla extract. Let the custard cool to room temperature.
Chilling the Mixture
To ensure our ice cream has the perfect texture, we need to chill the custard base before churning it.
- Cover the bowl with plastic wrap, pressing it directly onto the surface of the custard to prevent a skin from forming. Place it in the refrigerator for at least 4 hours, or overnight if you have the time. The longer it chills, the better the flavors will meld together.
Churning the Ice Cream
Now comes the fun part! Churning the ice cream is where the magic happens, transforming our custard into a creamy delight.
- Once the custard is thoroughly chilled, take it out of the refrigerator. If you have an ice cream maker, this is the time to use it! Pour the custard into the ice cream maker and churn according to the manufacturer’s instructions. This usually takes about 20-25 minutes.
- If you like a little extra texture, add the mini chocolate chips during the last 5 minutes of churning. They add a delightful crunch and complement the mint flavor beautifully.
Freezing the Ice Cream
After churning, the ice cream will be soft-serve consistency. To achieve that perfect scoopable texture, we need to freeze it.
- Transfer the churned ice cream into an airtight container. Smooth the top with a spatula and press a piece of parchment paper directly onto the surface to prevent ice crystals from forming.
- Seal the container with a lid and place it in the freezer for at least 4 hours, or until firm. If you can wait overnight, that’s even better!
Serving the Fresh Mint Ice Cream
Once your ice cream
Conclusion:
In summary, this Fresh Mint Ice Cream recipe is an absolute must-try for anyone looking to elevate their dessert game. The vibrant flavor of fresh mint combined with the creamy texture of homemade ice cream creates a delightful treat that is perfect for warm summer days or any occasion that calls for a refreshing dessert. Not only is it a crowd-pleaser, but it also offers a unique twist that sets it apart from store-bought options. For serving suggestions, consider pairing your Fresh Mint Ice Cream with a drizzle of rich chocolate sauce or a sprinkle of crushed cookies for added texture. You can also experiment with variations by adding in chocolate chips, fresh berries, or even a splash of your favorite liqueur for an adult version. The possibilities are endless, and I encourage you to get creative! I genuinely hope you give this recipe a try and experience the joy of making your own Fresh Mint Ice Cream. Once you do, I would love to hear about your experience! Share your thoughts, any variations you tried, or even a photo of your delicious creation. Let’s spread the love for this refreshing treat together! Print
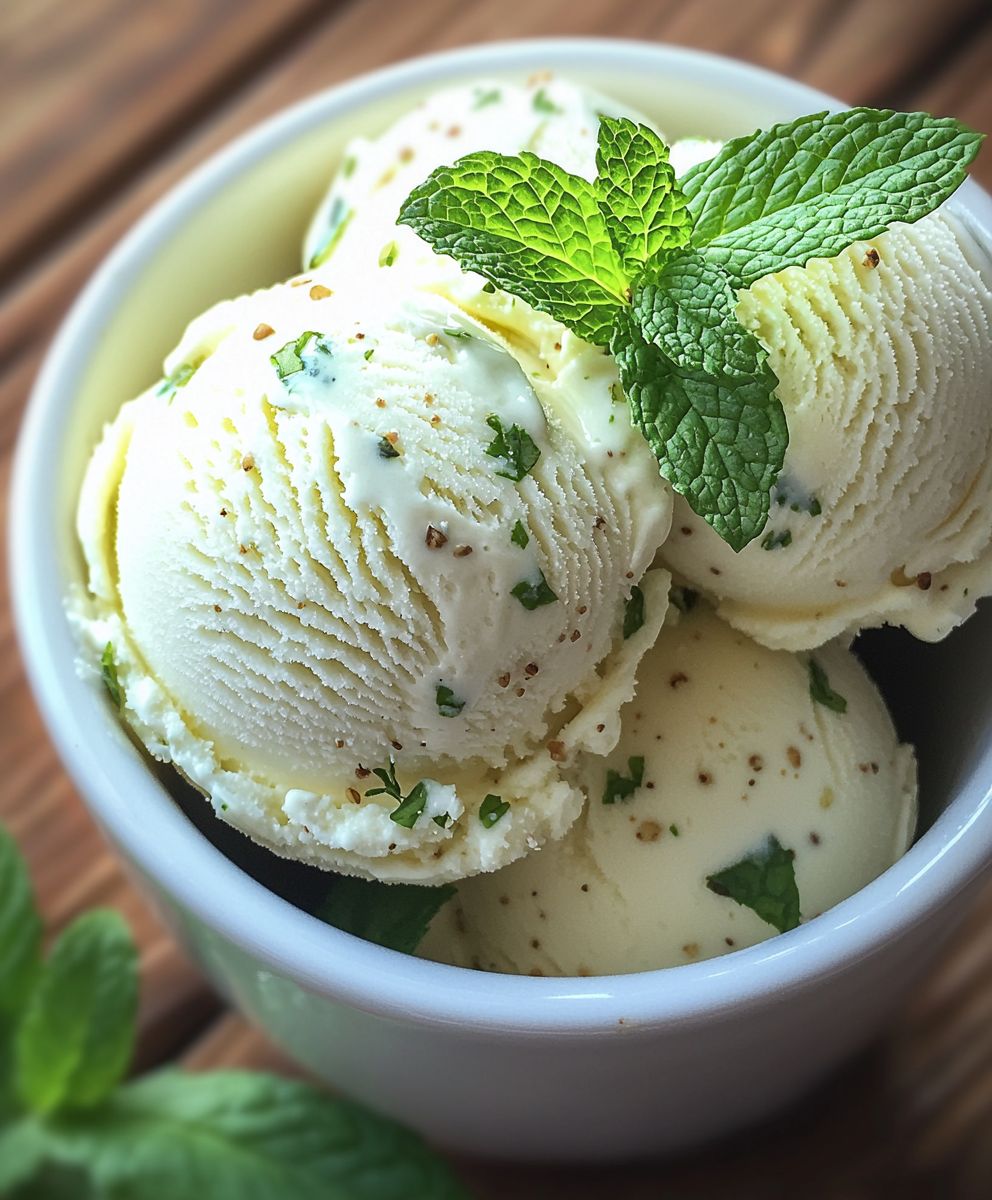
Fresh Mint Ice Cream: A Refreshing Homemade Delight for Summer
Enjoy the refreshing taste of homemade Fresh Mint Ice Cream, made with real mint leaves and a touch of vanilla. This creamy treat is perfect for warm days and can be enhanced with mini chocolate chips for an extra indulgence!
- Total Time: 275 minutes
- Yield: 1 quart 1x
Ingredients
- 2 cups heavy cream
- 1 cup whole milk
- 3/4 cup granulated sugar
- 1/2 teaspoon salt
- 1 teaspoon pure vanilla extract
- 1 cup fresh mint leaves, packed
- 4 large egg yolks
- 1/2 cup mini chocolate chips (optional)
Instructions
- In a medium saucepan, combine the heavy cream, whole milk, granulated sugar, and salt. Stir over medium heat until the sugar is completely dissolved (about 3-5 minutes).
- Add the fresh mint leaves to the saucepan, packing them in to maximize flavor infusion.
- Bring the mixture to a gentle simmer, then remove from heat. Cover and let steep for about 30 minutes.
- Strain the mixture through a fine-mesh sieve into a clean bowl, pressing down on the mint leaves to extract flavor. Discard the leaves.
- In a separate bowl, whisk the egg yolks until pale and slightly thickened (about 2-3 minutes).
- Gradually pour the warm mint-infused cream mixture into the egg yolks while whisking constantly to temper the eggs.
- Return the mixture to the saucepan and cook over medium-low heat, stirring constantly until thickened enough to coat the back of a spoon (about 5-7 minutes). Do not let it boil!
- Remove from heat and stir in the vanilla extract. Let cool to room temperature.
- Cover the bowl with plastic wrap, pressing it directly onto the surface of the custard to prevent a skin from forming. Refrigerate for at least 4 hours, or overnight.
- Once chilled, pour the custard into an ice cream maker and churn according to the manufacturer’s instructions (about 20-25 minutes).
- If desired, add mini chocolate chips during the last 5 minutes of churning.
- Transfer the churned ice cream into an airtight container, smoothing the top with a spatula. Press parchment paper onto the surface to prevent ice crystals.
- Seal the container and freeze for at least 4 hours, or until firm.
- Once fully frozen, scoop and serve your delicious Fresh Mint Ice Cream. Enjoy!
Notes
- For a stronger mint flavor, let the mint steep for longer than 30 minutes.
- If you don’t have an ice cream maker, you can freeze the mixture in a container, stirring every 30 minutes until it reaches a creamy consistency.
- Prep Time: 20 minutes
- Cook Time: 15 minutes
Leave a Comment