
White Chocolate Raspberry Cake: Just the name alone conjures images of elegance, indulgence, and pure bliss, doesn’t it? Imagine sinking your fork into a slice of moist, tender cake, the creamy sweetness of white chocolate perfectly balanced by the tart, juicy burst of fresh raspberries. It’s a symphony of flavors and textures that will leave you craving more!
While the exact origins of combining white chocolate and raspberries in baking are somewhat shrouded in mystery, the pairing has become a modern classic, celebrated for its sophisticated yet approachable appeal. It speaks to a desire for both comfort and refinement, a treat that feels special enough for a celebration but simple enough to enjoy on a quiet afternoon.
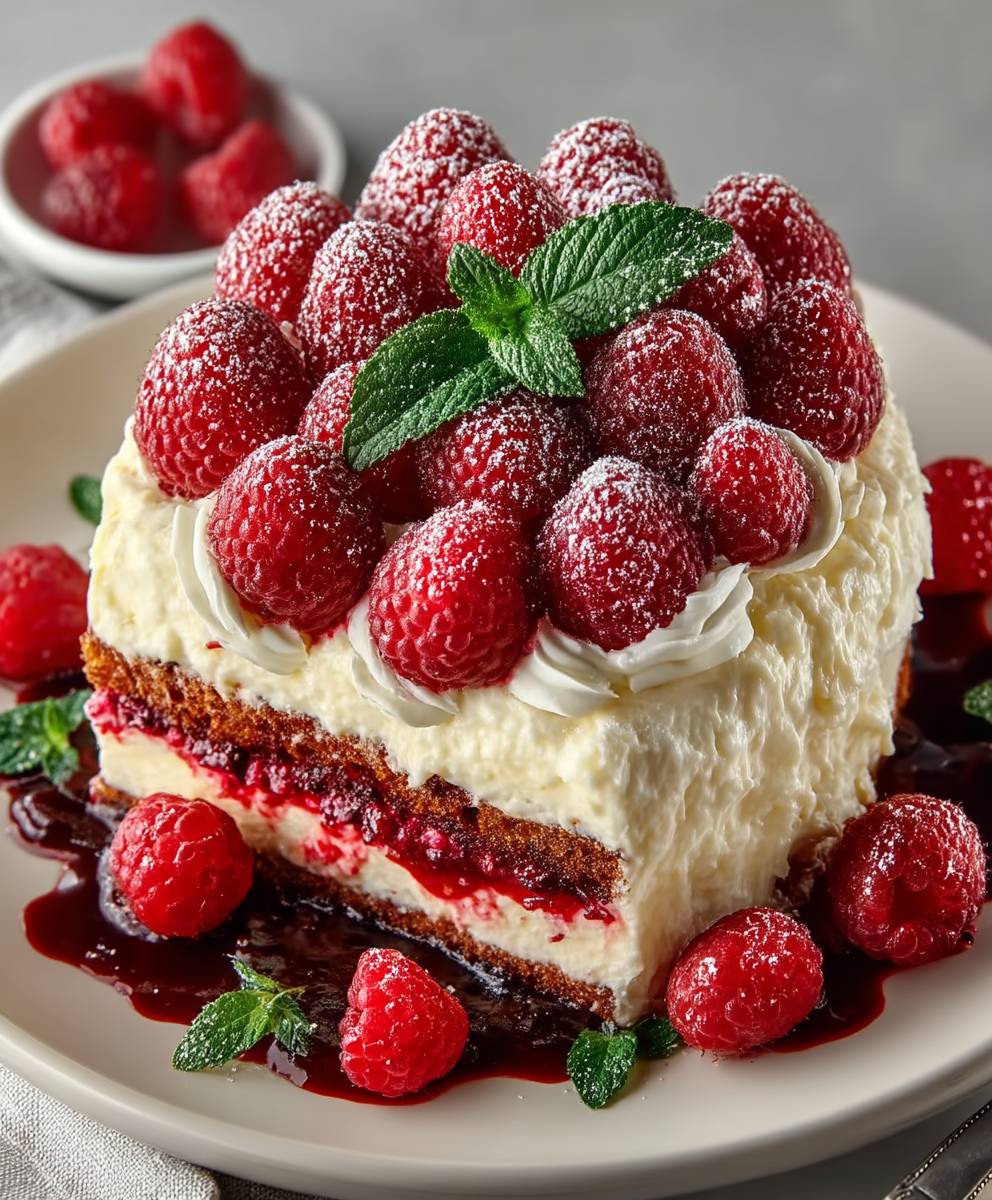
What makes this White Chocolate Raspberry Cake so irresistible? Beyond the stunning visual appeal – the delicate pink of the raspberries against the ivory backdrop of the cake – it’s the harmonious blend of flavors. The white chocolate offers a subtle sweetness that’s never cloying, while the raspberries provide a refreshing tartness that cuts through the richness. The cake itself is often incredibly moist, thanks to the addition of buttermilk or sour cream, creating a texture that practically melts in your mouth. Whether you’re a seasoned baker or just starting out, this cake is sure to impress. So, let’s get baking and create a masterpiece that will delight your taste buds and leave everyone asking for the recipe!

Ingredients:
- For the Cake:
- 2 1/2 cups (300g) all-purpose flour
- 1 teaspoon baking powder
- 1/2 teaspoon baking soda
- 1/4 teaspoon salt
- 1 cup (2 sticks or 226g) unsalted butter, softened
- 1 3/4 cups (350g) granulated sugar
- 3 large eggs
- 1 teaspoon vanilla extract
- 1 cup (240ml) buttermilk
- For the White Chocolate Ganache:
- 12 ounces (340g) good quality white chocolate, finely chopped
- 1 cup (240ml) heavy cream
- 2 tablespoons unsalted butter
- For the Raspberry Filling:
- 12 ounces (340g) fresh raspberries (or frozen, thawed and drained)
- 1/2 cup (100g) granulated sugar
- 1 tablespoon lemon juice
- 1 tablespoon cornstarch
- For Decoration (Optional):
- Fresh raspberries
- White chocolate shavings
- Powdered sugar
Preparing the Raspberry Filling:
- Combine Raspberries and Sugar: In a medium saucepan, combine the raspberries and sugar. If using frozen raspberries, make sure they are thawed and drain any excess liquid before adding them to the saucepan. This will prevent the filling from being too watery.
- Cook Over Medium Heat: Place the saucepan over medium heat and cook, stirring occasionally, until the sugar dissolves and the raspberries begin to break down. This usually takes about 5-7 minutes. You’ll notice the mixture becoming more liquid as the raspberries release their juices.
- Add Lemon Juice: Stir in the lemon juice. The lemon juice not only brightens the flavor of the raspberries but also helps to balance the sweetness.
- Thicken with Cornstarch: In a small bowl, whisk together the cornstarch and 1 tablespoon of cold water to create a slurry. This will prevent the cornstarch from clumping when added to the hot raspberry mixture.
- Incorporate Cornstarch Slurry: Slowly pour the cornstarch slurry into the saucepan while stirring constantly. Continue to cook, stirring frequently, until the mixture thickens. This should only take about 1-2 minutes. Be careful not to overcook, as the filling can become too thick.
- Cool Completely: Remove the saucepan from the heat and let the raspberry filling cool completely. As it cools, it will thicken further. You can transfer it to a bowl and cover it with plastic wrap, pressing the plastic wrap directly onto the surface of the filling to prevent a skin from forming. Refrigerate for at least 30 minutes to speed up the cooling process.
Preparing the Cake:
- Preheat Oven and Prepare Pans: Preheat your oven to 350°F (175°C). Grease and flour two 9-inch round cake pans. You can also line the bottoms of the pans with parchment paper rounds for easy removal. This will ensure that the cakes don’t stick to the pans.
- Combine Dry Ingredients: In a medium bowl, whisk together the flour, baking powder, baking soda, and salt. Whisking ensures that the ingredients are evenly distributed, which is crucial for a consistent cake texture.
- Cream Butter and Sugar: In a large bowl (or the bowl of a stand mixer), cream together the softened butter and granulated sugar until light and fluffy. This process incorporates air into the batter, which contributes to a light and airy cake. This usually takes about 3-5 minutes.
- Add Eggs: Beat in the eggs one at a time, mixing well after each addition. Make sure each egg is fully incorporated before adding the next.
- Stir in Vanilla Extract: Stir in the vanilla extract. Vanilla extract enhances the flavor of the cake and adds a touch of warmth.
- Alternate Adding Dry and Wet Ingredients: Gradually add the dry ingredients to the wet ingredients, alternating with the buttermilk, beginning and ending with the dry ingredients. Mix until just combined. Be careful not to overmix, as this can develop the gluten in the flour and result in a tough cake. Start by adding about one-third of the dry ingredients, then half of the buttermilk, then another third of the dry ingredients, the remaining buttermilk, and finally the remaining dry ingredients.
- Divide Batter: Divide the batter evenly between the prepared cake pans. Use a kitchen scale to ensure that the pans have the same amount of batter for even baking.
- Bake: Bake for 30-35 minutes, or until a wooden skewer inserted into the center comes out clean. The baking time may vary depending on your oven, so keep an eye on the cakes.
- Cool in Pans: Let the cakes cool in the pans for 10 minutes before inverting them onto a wire rack to cool completely. Cooling the cakes in the pans prevents them from sticking and allows them to set properly.
Preparing the White Chocolate Ganache:
- Chop White Chocolate: Finely chop the white chocolate and place it in a heatproof bowl. Finely chopping the white chocolate ensures that it melts evenly and smoothly.
- Heat Heavy Cream: In a small saucepan, heat the heavy cream over medium heat until it just begins to simmer. Do not boil the cream.
- Pour Cream Over Chocolate: Pour the hot heavy cream over the chopped white chocolate.
- Let Sit: Let the mixture sit for 1 minute to allow the heat from the cream to melt the chocolate.
- Stir Until Smooth: Gently stir the mixture until the white chocolate is completely melted and the ganache is smooth and glossy.
- Add Butter: Stir in the butter until it is melted and incorporated into the ganache. The butter adds richness and shine to the ganache.
- Cool Slightly: Let the ganache cool slightly at room temperature. This will allow it to thicken slightly, making it easier to spread on the cake. If the ganache is too thin, it will run off the sides of the cake. If it’s too thick, it will be difficult to spread.
Assembling the Cake:
- Level the Cakes (Optional): If the cakes have domed tops, use a serrated knife to level them. This will create a flat surface for stacking and frosting.
- Place First Cake Layer: Place one cake layer on a serving plate or cake stand.
- Spread Raspberry Filling: Spread the cooled raspberry filling evenly over the first cake layer, leaving a small border around the edge. This will prevent the filling from squeezing out when you place the second cake layer on top.
- Place Second Cake Layer: Carefully place the second cake layer on top of the raspberry filling.
- Frost with White Chocolate Ganache: Frost the entire cake with the white chocolate ganache. You can use an offset spatula to create a smooth and even finish.
- Decorate (Optional): Decorate the cake with fresh raspberries, white chocolate shavings, and a dusting of powdered sugar, if desired. Get creative with your decorations!
- Chill (Optional): Chill the cake in the refrigerator for at least 30 minutes to allow the ganache to set. This will make it easier to slice and serve.
- Serve: Slice and serve the White Chocolate Raspberry Cake. Enjoy!
Conclusion:
This White Chocolate Raspberry Cake isn’t just a dessert; it’s an experience. The delicate sweetness of the white chocolate, perfectly balanced by the tart burst of fresh raspberries, creates a symphony of flavors that will leave you and your guests wanting more. I truly believe this cake is a must-try for anyone who appreciates a beautifully balanced and utterly delicious treat. It’s the kind of cake that makes any occasion feel special, from a simple afternoon tea to a celebratory birthday bash.
Why is it a must-try? Because it’s surprisingly easy to make, even for novice bakers. The recipe is straightforward, and the results are consistently impressive. Plus, the combination of textures – the moist, tender crumb of the cake, the creamy smoothness of the white chocolate, and the juicy pop of the raspberries – is simply irresistible. It’s a showstopper that doesn’t require hours of complicated techniques.
But the best part? It’s incredibly versatile!
Serving Suggestions and Variations
Want to elevate your serving presentation? A dusting of powdered sugar adds a touch of elegance. A scoop of vanilla bean ice cream alongside a slice of warm cake is pure heaven. Or, for a truly decadent experience, drizzle a homemade raspberry sauce over the top.
Looking for variations? You can easily adapt this recipe to suit your preferences.
* Berry Bonanza: Substitute the raspberries with other berries like blueberries, blackberries, or strawberries for a different flavor profile. A mixed berry version is always a crowd-pleaser.
* Citrus Twist: Add a tablespoon of lemon or orange zest to the batter for a bright, citrusy note that complements the white chocolate beautifully.
* Nutty Delight: Fold in a half cup of chopped toasted almonds or pecans for added texture and a nutty flavor.
* Mini Cakes: Bake the batter in muffin tins to create individual mini cakes, perfect for parties or portion control. Reduce the baking time accordingly.
* Frosting Fantasy: While the cake is delicious on its own, you can also add a frosting. A simple cream cheese frosting, a light whipped cream, or even a white chocolate ganache would be fantastic additions. If you opt for frosting, make sure the cake is completely cool before applying it.
I’ve made this White Chocolate Raspberry Cake countless times, and each time it’s a hit. I’ve experimented with different variations, and I’ve always been thrilled with the results. It’s a recipe that I know I can rely on to impress my friends and family.
Now, it’s your turn! I wholeheartedly encourage you to try this recipe. Don’t be intimidated by the idea of baking a cake; this one is truly foolproof. Follow the instructions carefully, and you’ll be rewarded with a delicious and beautiful dessert that you’ll be proud to share.
And most importantly, I want to hear about your experience! Did you try any of the variations? Did you add your own special touch? What did your friends and family think? Please, share your photos and stories in the comments below. I can’t wait to see your creations and hear about your baking adventures. Happy baking, and enjoy every delicious bite of your homemade White Chocolate Raspberry Cake! Let me know if you have any questions, I’m always happy to help.
White Chocolate Raspberry Cake: The Ultimate Recipe & Baking Guide
A decadent white chocolate cake layered with a homemade raspberry filling and frosted with a smooth white chocolate ganache. Perfect for special occasions!
Ingredients
- 2 1/2 cups (300g) all-purpose flour
- 1 teaspoon baking powder
- 1/2 teaspoon baking soda
- 1/4 teaspoon salt
- 1 cup (2 sticks or 226g) unsalted butter, softened
- 1 3/4 cups (350g) granulated sugar
- 3 large eggs
- 1 teaspoon vanilla extract
- 1 cup (240ml) buttermilk
- 12 ounces (340g) good quality white chocolate, finely chopped
- 1 cup (240ml) heavy cream
- 2 tablespoons unsalted butter
- 12 ounces (340g) fresh raspberries (or frozen, thawed and drained)
- 1/2 cup (100g) granulated sugar
- 1 tablespoon lemon juice
- 1 tablespoon cornstarch
- Fresh raspberries
- White chocolate shavings
- Powdered sugar
Instructions
- In a medium saucepan, combine the raspberries and sugar. If using frozen raspberries, make sure they are thawed and drain any excess liquid before adding them to the saucepan.
- Place the saucepan over medium heat and cook, stirring occasionally, until the sugar dissolves and the raspberries begin to break down (5-7 minutes).
- Stir in the lemon juice.
- In a small bowl, whisk together the cornstarch and 1 tablespoon of cold water to create a slurry.
- Slowly pour the cornstarch slurry into the saucepan while stirring constantly. Continue to cook, stirring frequently, until the mixture thickens (1-2 minutes).
- Remove from heat and let cool completely. Transfer to a bowl, cover with plastic wrap (pressing onto the surface), and refrigerate for at least 30 minutes.
- Preheat oven to 350°F (175°C). Grease and flour two 9-inch round cake pans (or line with parchment paper rounds).
- In a medium bowl, whisk together the flour, baking powder, baking soda, and salt.
- In a large bowl (or stand mixer), cream together the softened butter and granulated sugar until light and fluffy (3-5 minutes).
- Beat in the eggs one at a time, mixing well after each addition.
- Stir in the vanilla extract.
- Gradually add the dry ingredients to the wet ingredients, alternating with the buttermilk, beginning and ending with the dry ingredients. Mix until just combined.
- Divide the batter evenly between the prepared cake pans.
- Bake for 30-35 minutes, or until a wooden skewer inserted into the center comes out clean.
- Let the cakes cool in the pans for 10 minutes before inverting them onto a wire rack to cool completely.
- Finely chop the white chocolate and place it in a heatproof bowl.
- In a small saucepan, heat the heavy cream over medium heat until it just begins to simmer. Do not boil the cream.
- Pour the hot heavy cream over the chopped white chocolate.
- Let the mixture sit for 1 minute.
- Gently stir the mixture until the white chocolate is completely melted and the ganache is smooth and glossy.
- Stir in the butter until it is melted and incorporated.
- Let the ganache cool slightly at room temperature.
- If the cakes have domed tops, use a serrated knife to level them.
- Place one cake layer on a serving plate or cake stand.
- Spread the cooled raspberry filling evenly over the first cake layer, leaving a small border around the edge.
- Carefully place the second cake layer on top of the raspberry filling.
- Frost the entire cake with the white chocolate ganache.
- Decorate with fresh raspberries, white chocolate shavings, and a dusting of powdered sugar, if desired.
- Chill the cake in the refrigerator for at least 30 minutes to allow the ganache to set.
- Slice and serve.
Notes
- For the raspberry filling, using frozen raspberries is acceptable, but be sure to thaw them completely and drain any excess liquid to prevent a watery filling.
- When making the ganache, ensure the white chocolate is finely chopped for even melting.
- Be careful not to overmix the cake batter, as this can result in a tough cake.
- Cooling the cake layers completely before frosting is essential to prevent the ganache from melting.
Leave a Comment